The problem of multiple reflections in laser scanning


Laser scanning
Multiple reflections
Image processing
General
In this article I would like to show the most common problem in laser scanning - re-reflection of laser radiation from shiny surfaces, which leads to false detection of points. This most often appears on polished metals in narrow recesses. I would also like to present one of the possible methods for dealing with this problem.
Scanning
The scanner is located on top perpendicular to a narrow groove on the object.
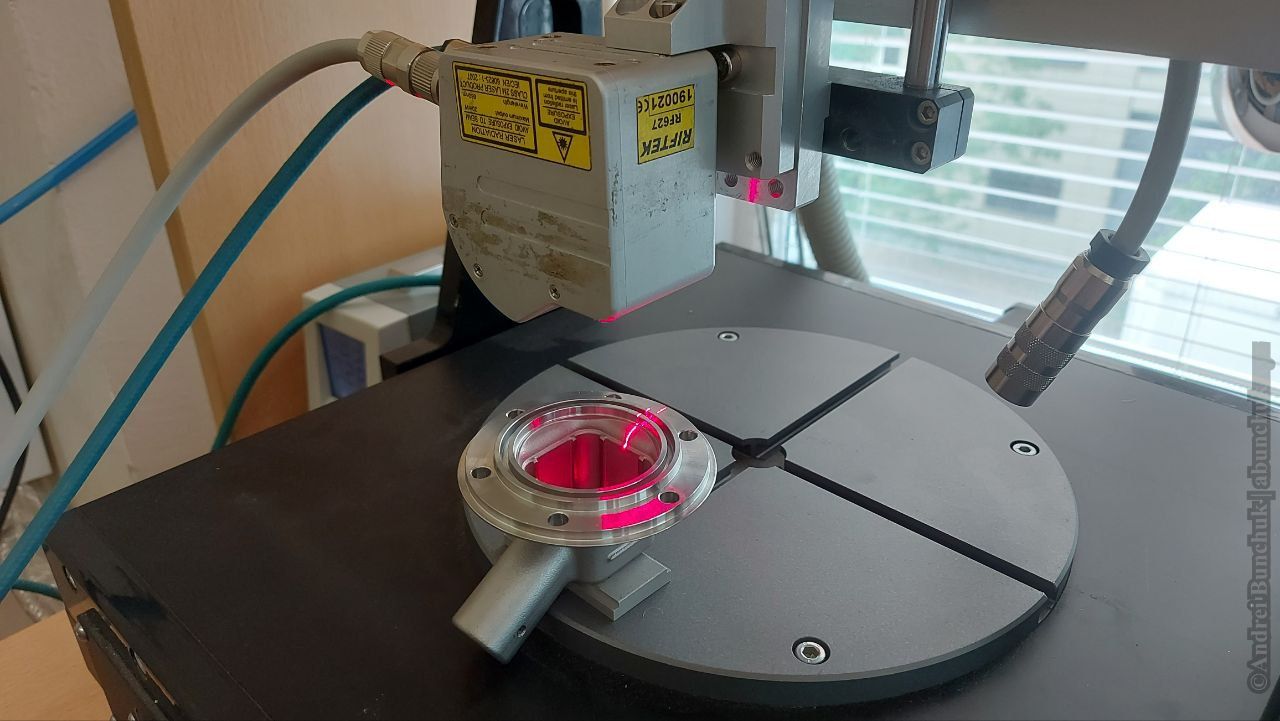
The laser line goes deep into the groove.
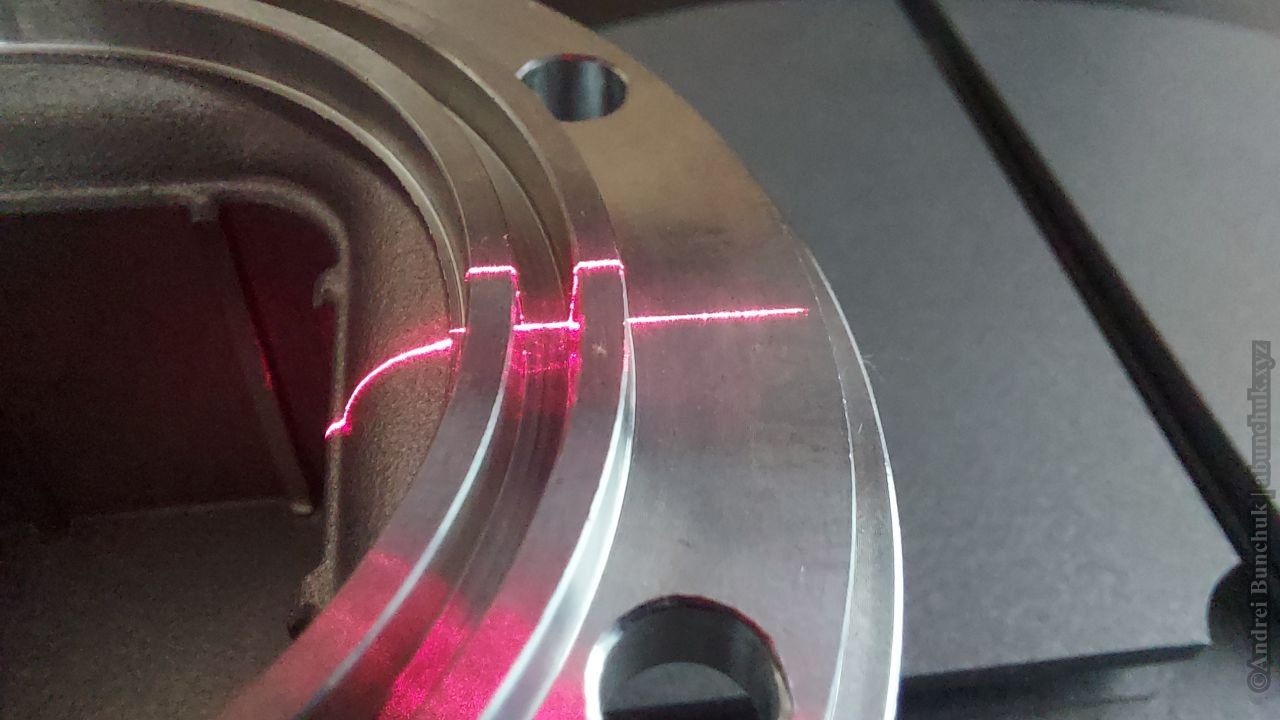
In this case, reflections of the central line are formed on the side surfaces of the groove. Example left and right:
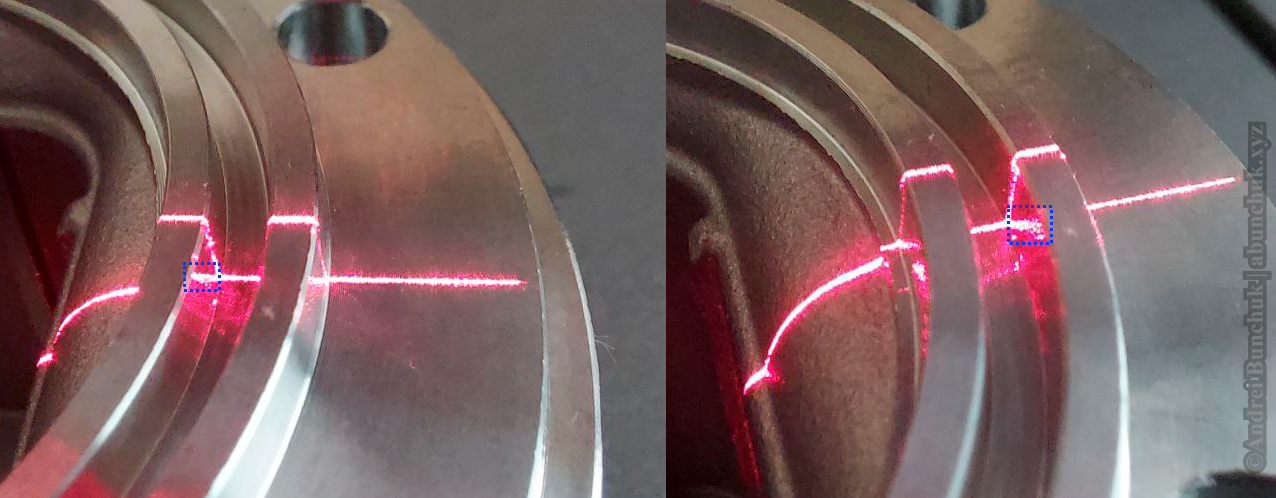
If you look at the resulting profile, at first glance everything looks correct.
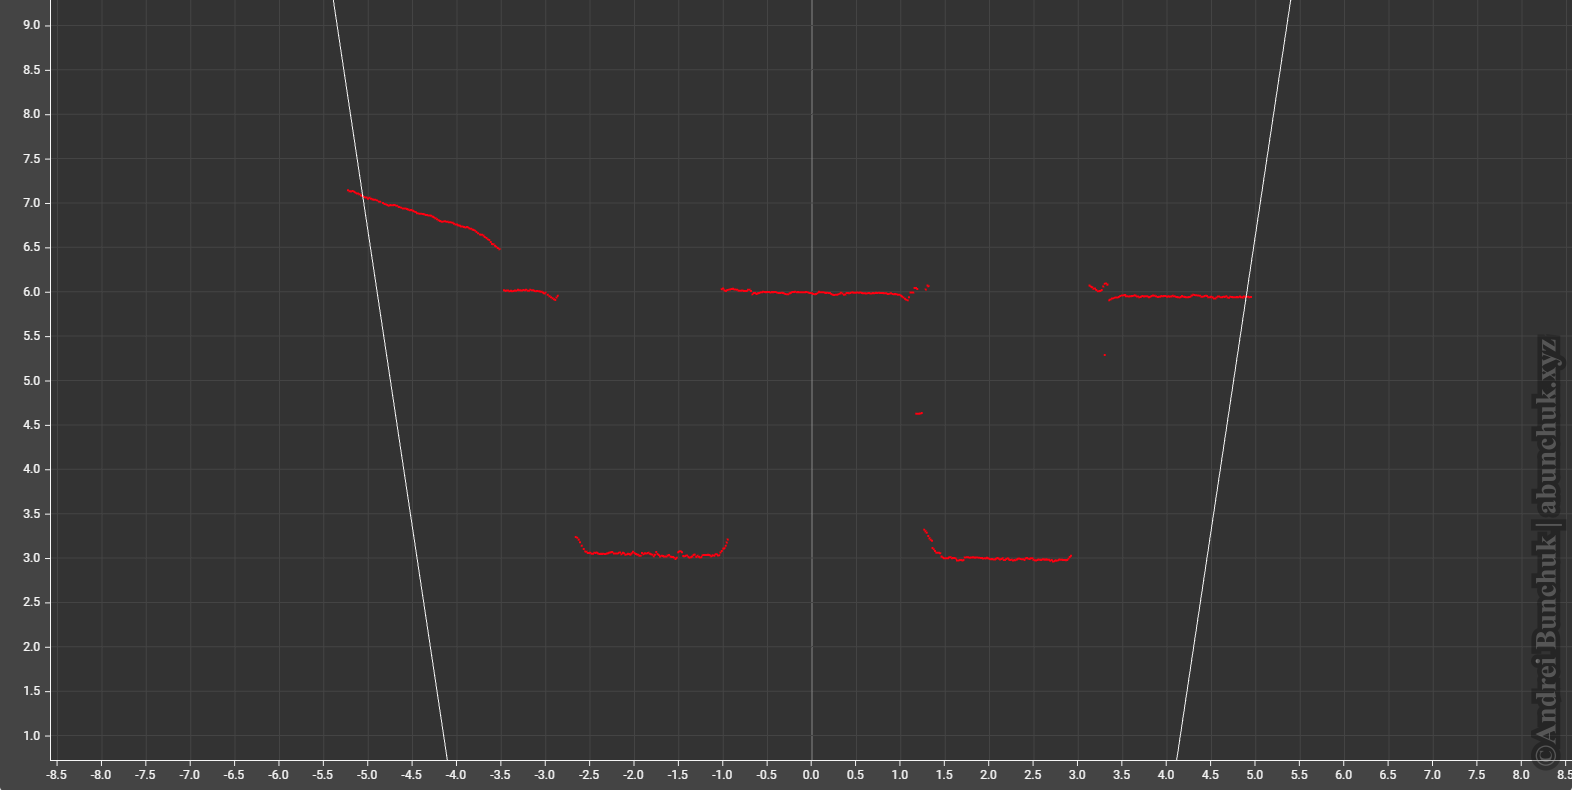
However, when examining the frame, it is clear that the dots were detected not on the side surfaces, but in the area of reflection.
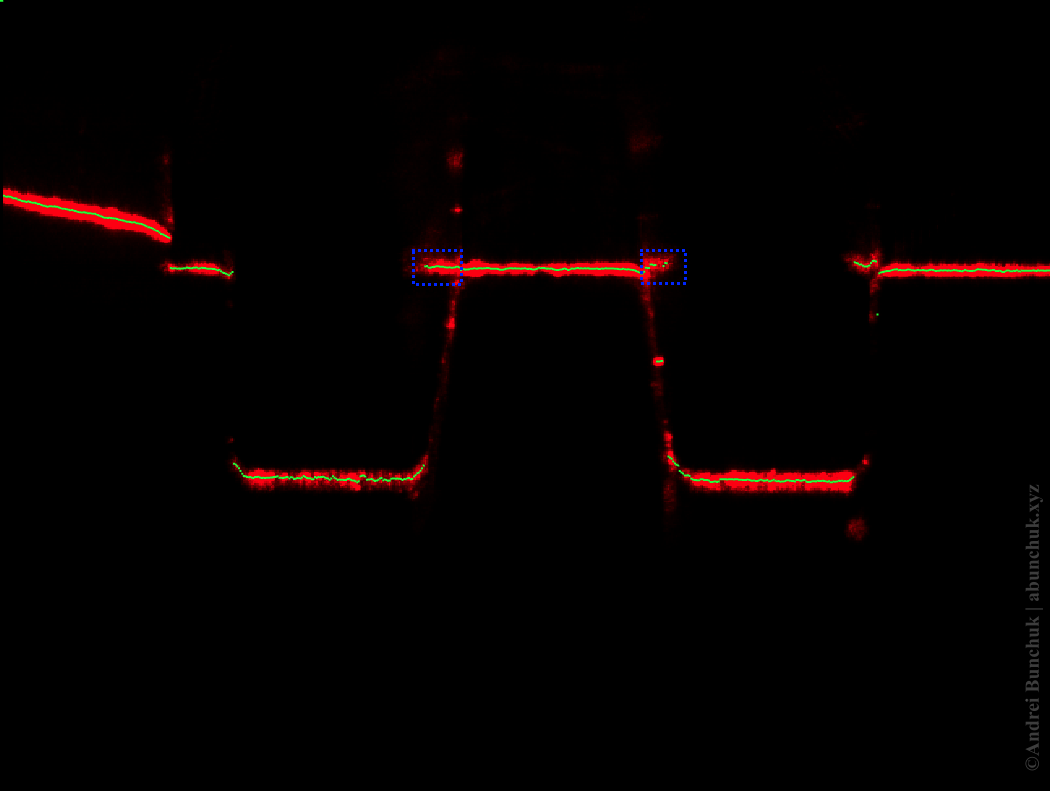
In this case, the line width is larger, since there are reflections that merge with the central line and lengthen it.
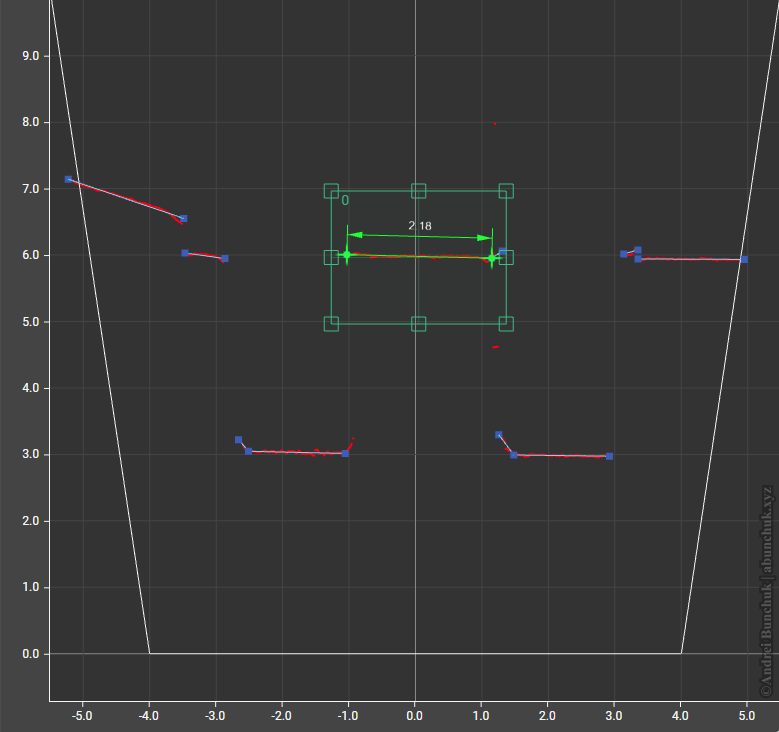
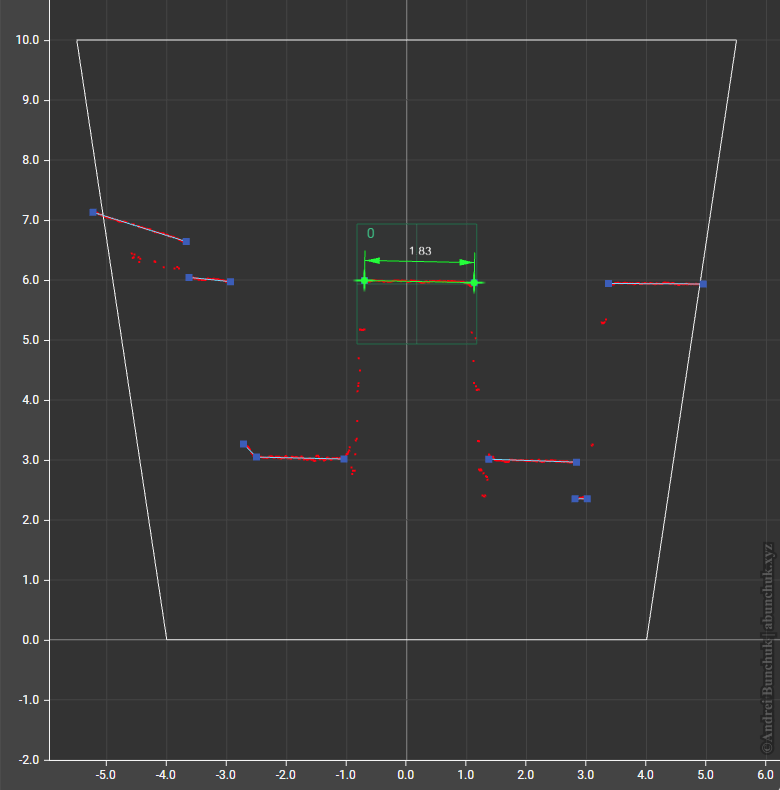
One solution to this problem may be to detect the peak not of maximum intensity, but the last one in the image column. It is clear that there are now no detected points in the reflection area, but they are present on the side surfaces.
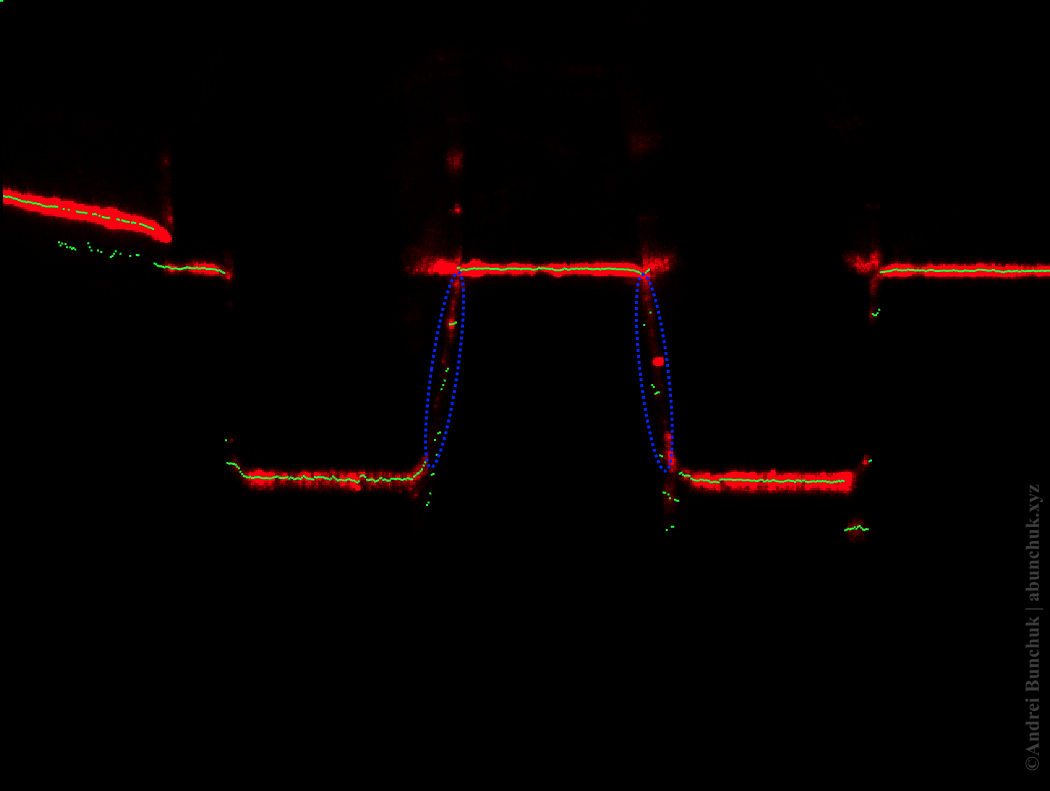
Profile in last peak detection mode in a column:
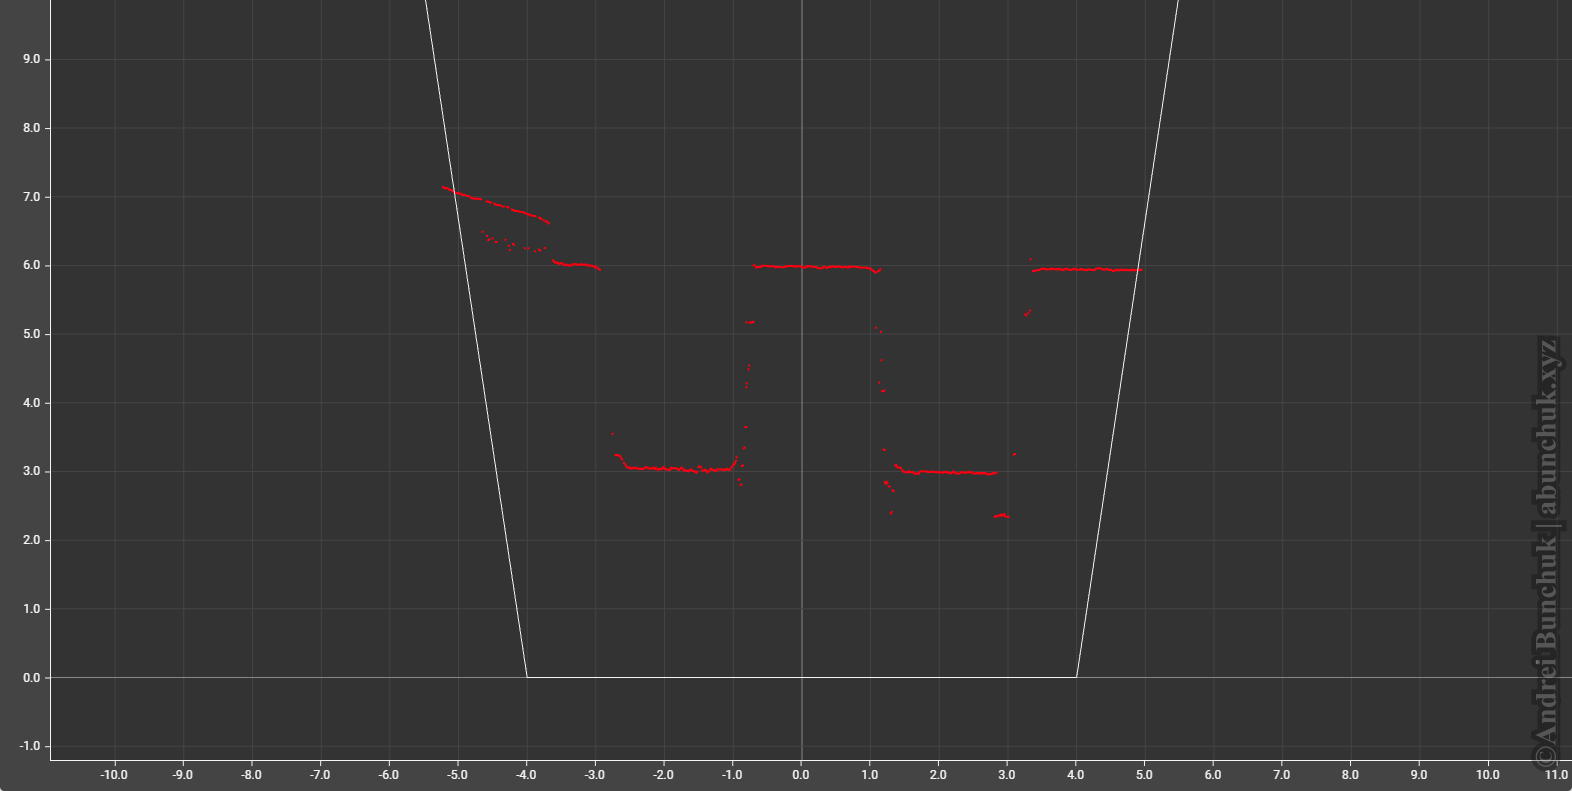
Now we can measure the correct width at the bottom of the groove.
Conclusion
Reflections almost always lead to defective points when selecting the most intense peak. Selecting other peak selection modes in the image column can help avoid detecting points on reflections in a number of tasks.